Tagging Tasks
Tags can be applied to individual tasks within a checklist, not just to the checklist as a whole. This allows you to group and filter work at the task level — for example, tagging tasks by the responsible person, department, or category.
Task tags appear on the Tag Page in a dedicated Tasks section, separate from tagged checklists, giving you a focused view of all tasks across the business that carry a specific tag.
Adding a Tag to a Task
- Open the checklist containing the task you want to tag.
- Click on the task to open the Task Content panel on the right side of the screen (or below the task on smaller screens).
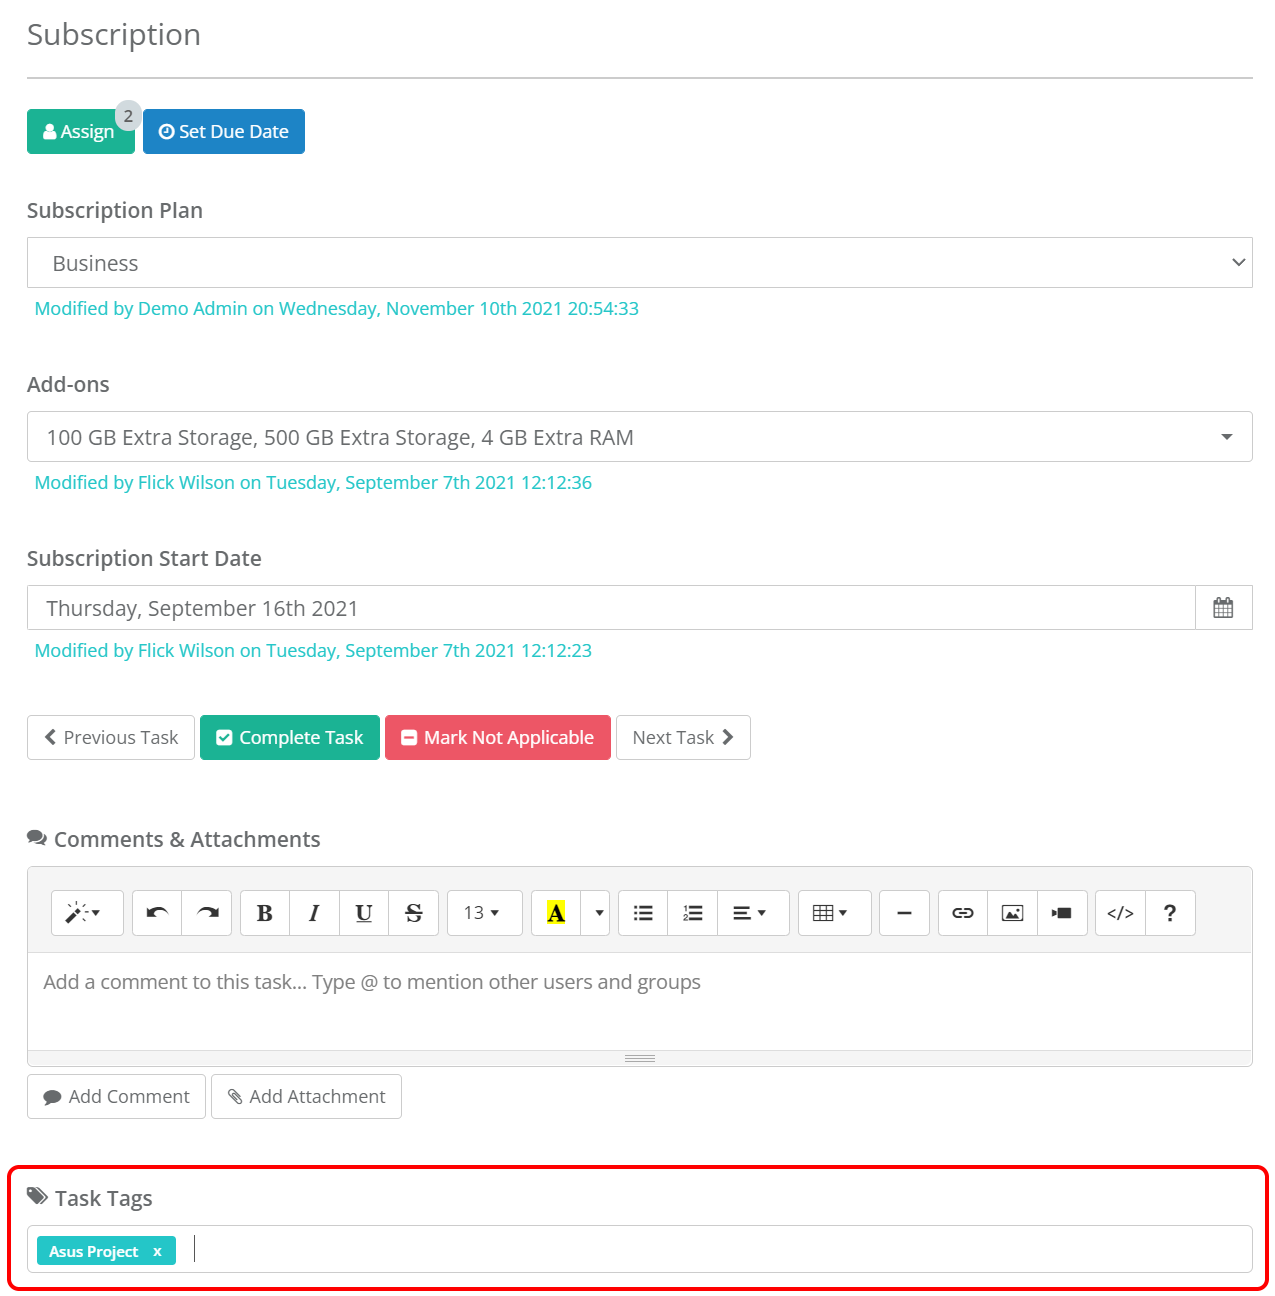
- Scroll to the bottom of the Task Content area and locate the Task Tags text box.
- Start typing the name of the tag you want to add.
- If the tag already exists, CheckFlow will suggest it as you type — select it from the dropdown to reuse the existing tag.
- If it is a new tag, finish typing the full name and then click away or press Tab to create it.
- The tag will appear as a light blue label in the Task Tags field confirming it has been added.
You can add as many tags as you need. Repeat the steps above for each additional tag.
Use Task Tags for Responsibility
Task tags work well for marking which person or team is responsible for a task. For example, tagging tasks with HR, IT or Finance lets those departments quickly find all tasks that need their attention across every active checklist.
Removing a Tag from a Task
- Open the checklist containing the task.
- Click on the task to open the Task Content panel.
- Find the tag label you want to remove in the Task Tags field.
- Click the small × (cross) on the right side of the tag label.
The tag is removed from that task immediately. The tag continues to exist and remains applied to any other items it has been added to.
Tags Inherited from Templates
If the checklist was created from a template, some tasks may already have tags applied. These are inherited from template task tags configured in the source template. Inherited tags behave identically to manually applied tags — they can be viewed, added to, and removed per task.
Removing an inherited tag from a task only affects that specific task in that specific checklist. It does not change the template or any other checklists.
See Tagging Templates to learn how to configure task tags at the template level.
Viewing All Tasks with a Tag
Once a tag has been applied to one or more tasks, you can view all tagged tasks by clicking the tag name in the Tags Menu in the left navigation sidebar. This opens the Tag Page which displays a Tasks grid showing every task across all checklists that carries that tag, along with the checklist it belongs to and its due date.