Task Due Dates
Due dates can be set in two different ways.
- Dynamically - Dynamic due dates are defined in your template and calculated automatically each time a checklist is created. There are two approaches: a date offset (e.g. 2 days after the checklist starts) or a calendar position (e.g. the last weekday of the current month). Dynamic due dates can also update automatically as tasks are completed or date control values change.
- Statically - Static due dates are manually set in checklists. They only apply to a single checklist and they can be changed as many times as required. Static due dates are set to a specific date and time value using a date picker control.
In this topic we are focusing on static due dates.
If you would like to find out more about Dynamic Due Dates check out our dedicated documentation here
Setting the Due Date on a Checklist Task
Static due dates are set within the checklist. Open the checklist and select the task you want to set the due date for in the tasks list.
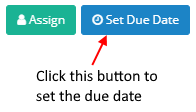
A toolbar is displayed at the top of the task content area. From this toolbar click the blue 'Set Due Date' button.
A popup form will be displayed. Use the date picker control to set the due date.
Click the 'Save Due Date' button. The popup form will close and the 'Set Due Date' button will now display the due date details.

Changing the Due Date on a Checklist Task
The due date can be changed as many times as required.
Open your checklist, select the task and click on the blue 'Due' button. The current date and time the due date is set to will be diplayed in this button.
Use the date picker to change the due date to a new date and time. Then click the 'Save Due Date' button.
Deleting the Due Date on a Checklist Task
You can delete a due date if required.
Open your checklist, select the task and click on the blue 'Due' button. The current date and time the due date is set to will be diplayed in this button.
Click the 'Clear Due Date' button and then click the 'Save Due Date' button.
Due Date Warnings
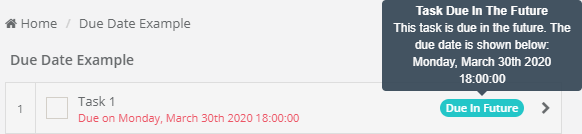
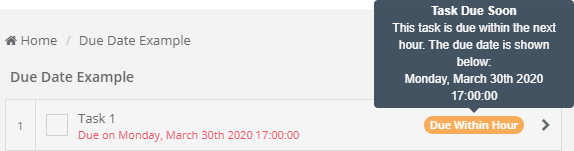
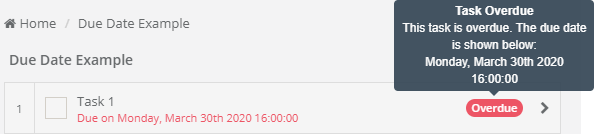
Due dates are displayed in the tasks list. The due date is displayed in small red text underneath the task name.
A color coded warning icon is also displayed. You can hover over this icon to display the full details.
The three states are as follows:
- Due In Future (Turquoise) - When the due date is greater than 1 hour in the future.
- Due Within Hour (Orange) - When the due date is within the next hour.
- Overdue (Red) - When the due date has passed.
Due Date Overdue Notifications
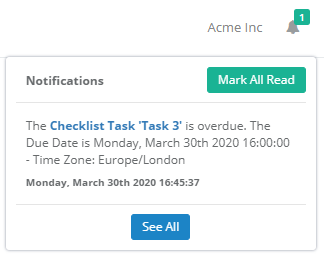
When a task is overdue a notification is sent to all administrators and to all team members who are assigned to the task.
The notification appears in the users notification inbox. This can be accessed by clicking on the bell icon at the top of the screen.
The details of the overdue task are displayed in the notification message and a clickable link is included which will take the user straight to the overdue task.
Due Date Overdue Email
When a task is overdue an email is sent to all administrators and to all team members who are assigned to the task.
Users can unsubscribe from receiving overdue emails in their user settings.
The email contains the details of the overdue task and a clickable link which will take the user straight to the overdue task.
